Kit Instructions
INSTRUCTIONS
We are here for you every step of the way! See below for our step-by-step instructions so that you can receive accurate, timely results.
pharmacogenetics | covid-19 | shipping
PGx Kits
Pharmacogenetics (PGx) Testing results are normally received 5 days after lab receipt. Follow these instructions in order to properly receive your results.
DOWNLOAD INSTRUCTIONS
1) activate/register kit
Go to shop.gravityplus.com/register to activate your kit.
*This step MUST be done before you begin collection!
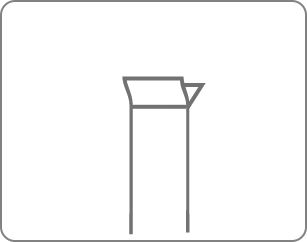
2) sticker label tubes
Your kit comes with a blank label sticker that you must fill, fill out the sticker with patient name, date of birth, and the date and time of collection, in pen only, and place the sticker label vertically on the tube. The information must be legible, and match what you used to register your kit.
*Do not write directly on the tube.
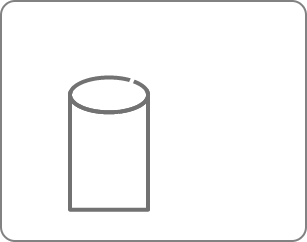
3) remove swab
Remove one sterile cheek swab from its tube.
Be sure not to touch the bristles!
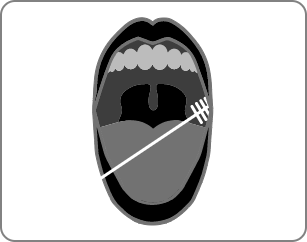
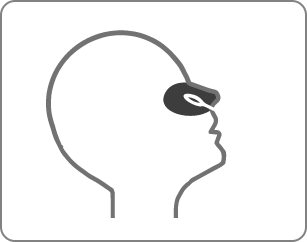
4) swab inside cheek
Scrape the bristle end of the swab against the inside of your cheek 20 times in a twirling motion.
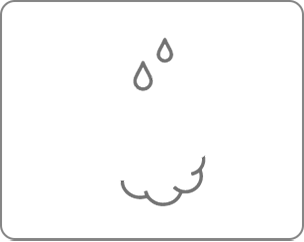
5) air dry swab
After scraping the inside of your cheek, place the cheek swab, bristle side up in a safe and clean location and let dry in open air for 15 minutes.
*It’s important that nothing touches the bristle \end of the brush in this stage.
6) place swab in tube
Gently place the cheek swab back into the tube it came in and close the cap.
*Make sure that the lid is securely shut.
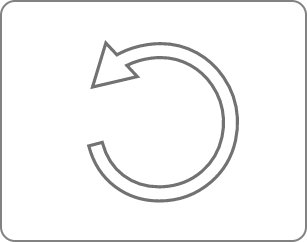
7) repeat steps 3-6
Repeat steps 3-6 on the opposite cheek using the unopened swab.
*Do not repeat steps with the first swab you used.
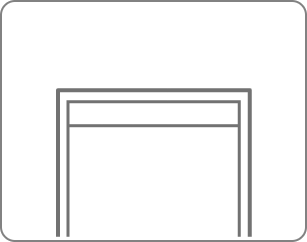
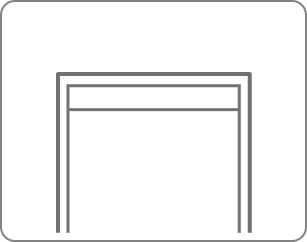
8) seal tubes in bag
Place your tubes into the biohazard bag, in the same section as the absorbent pad, and securely close the bag.
*Do not remove the absorbent pad from the biohazard bag.
covid-19 Kits
COVID-19 test results are normally received 24-48 hrs after lab receipt. receipt. Follow these instructions in order to properly receive your results.
DOWNLOAD INSTRUCTIONS
1) activate/register kit
Go to shop.gravityplus.com/register to activate your kit.
*This step MUST be done before you begin collection!
2) label tubes
Your kit comes with a blank label sticker, fill out the sticker with patient name, date of birth, and the date and time of collection, in pen only, and place the sticker label vertically on the tube. The information must be legible, and match what you used to register your kit.
*Do not write directly on the tube.
3) prepare and sanitize
Before collection, make sure to blow your nose, sanitize your collection area and thoroughly wash your hands for a minimum of 20 seconds with soap and warm water
*Do not use your alcohol prep pads to sanitize the collection area, these are needed later on in the collection process.
4) remove swab
Peel open the sleeve and carefully remove the swab.
*Make sure not to let the tip of the swab touch anything besides the inside of your nose. Doing so will compromise the specimen leading to a potential false result or no result.
5) swab nostril
Gently insert the swab into one nostril until you no longer see the cotton end of the swab. Swab should not be inserted more than 1/2 inch. Rotate the swab at least 4 times with slight pressure for a total of 15 seconds.
*Repeat this step with other nostril with the same swab.
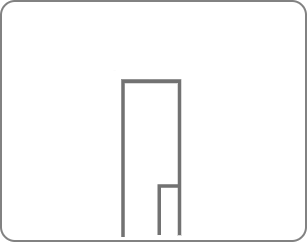
6) place swab in tube
Place your swab, tip down, into the tube. Break the swab on the perforated line and securely close your tube.
*Make sure not to spill your saline liquid as doing so can lead to a potential false result or no result. Keep out of reach of children. Avoid contact with eyes.
7) seal tube in bag
Place your tube into the biohazard bag, in the same sealed pouch as the absorbant pad, and securely close the bag.
*Do not remove the absorbent pad from the biohazard bag.
8) distance yourself
Be sure to maintain a minimum of 6ft distance between yourself and others while awaiting your test results.
shipping

1) Wash your hands for prep
thoroughly wash your hands for a minimum of 20 seconds. with soap and warm water prior to preparing your return shipment

2) Place bag in return box
place your sealed Biohazard bag, containing your complete sample, into the original box you received your kit in for return

3) Place box in return envelope
place your return box, containing your samples, into the pre-addressed and pre-paid envelope then seal the envelope.
*Use the alcohol pads to disinfect the outside of package

4) Take to ups or fedex dropbox
take your samples to your nearest dropbox to ship your kit back to the lab
*Drop off your sample on the same day you collect before the last pickup at that location
LET'S TALK
Need more info? Want to become partner?
We're here for you!
